A basic toolbox should have the following essential tools: a battery-powered drill, a cordless wrench, a screwdriver kit, a tape measure, and an utility knife. Depending on your needs, you might also want to add a utility knife, a square, and a torpedo level. An impact driver is a useful tool that you should have in your toolbox. In addition to these basic tools, you should also have a set of screwdrivers, a pair of pliers, and a small set of screwdrivers.
Four essential tools
Four tools are essential for every handyman. The most important is the pliers. They are useful for pulling nails and loosening stubborn bolts. There are a few styles to choose from, such as a vice grip or a traditional. Both are great for small projects around home. Pliers can also be used as wire cutters and fasteners.
A must-have in every home is an adjustable wrench. These adjustable tools can accommodate a variety of different materials and different sizes of bolts and nuts. A basic toolbox should include an adjustable wrench, regardless of whether you are working on your car or building. For those who like to DIY, it is possible to find a cheap model at Amazon. You can also invest in a better-quality model if you prefer.
Claw hammer
Claw-hammers are versatile tools that can be used for many purposes. You can use them for hanging picture hooks, driving nails and breaking up small objects. This tool has a rubber grip handle and claw shape that will give you a firm grip when prying out nails. They are also great for demolition. To keep them in good condition, invest in a high-quality claw hammer.
A hammer can be an indispensable tool in your toolbox, whether you are doing general home repairs or DIY projects. Look for a hammer which has a good grip and a sharp claw. The head of your toolbox should be smooth, so that it doesn’t damage surfaces or minimize nail slippage. A basic toolbox should contain a range of claw hammers. A 16-ounce clawhammer is ideal for household projects and makes a great addition to your toolbox.
Flathead screwdriver
A Flathead screwdriver should be part of every basic toolbox. The Flathead screwdriver consists of a shaft, a blade, and a handle. The shaft's length and width determine the size, but the blade's thickness does not. It is crucial because the thickness will affect how the screwdriver fits in the slot of the screw head. Some flat blade screwdrivers use a cross drive system. Phillips head screws are another staple for a basic toolbox. They feature a 123 degree point, blunted tip, and a self centering blade tip. It prevents you from over tightening the screw.
The flathead is versatile and must be part of the toolbox of any handyman. Despite their name, the flathead screwdriver is the most common type of screwdriver on the market, and is essential for anyone who performs general construction tasks. Although flathead screws are less common in residential construction these days, they are still used extensively in furniture and small cabinet-making projects as well as in electrical applications. Flathead screwdrivers work well for attaching plates to switches and outlets. These screwdrivers can be used to tighten screws properly, without damaging the screw.
Impact driver
The impact driver is an important piece of equipment for any toolbox. Its powerful impact provides power when you need it most, but not all jobs require the same level of force. Variable RPM settings make it easier to do the job. These impact drivers are capable of delivering a range between zero and three thousand RPMs. The impact driver has variable RPM settings that allow you to regulate the amount of force it can deliver to various materials.
You can buy impact drivers in either corded or uncorded versions. Cordless models won't catch on cars, or any other objects. They can be used in places where there is no power source. A variety of cordless models are available, including smaller models that can be used in tight spaces. The compact impact drivers are not nearly as powerful as the larger models, but they are ideal for tight workspaces.
FAQ
Is it cheaper to hire handyman than general contractors for the same job?
Yes! Sometimes a handyman is a cheaper option than a general contractor. This is especially true when you've never had a contractor complete a task before. Handymen can also speed up the completion time of projects because they are skilled at completing specific tasks faster and more efficiently.
How often do I need to hire a handyman
It depends on your project. A handyman may be all you need for a small job, such as replacing a light bulb. But, if you have a lot to remodel, you may need multiple handymen.
How do I locate a trustworthy handyman
Before you hire a handyman, make sure to check their references. Ask family and friends who have worked with him or her before. Also, look online--there are plenty of review sites where handymen post reviews of themselves.
Which is better: contracting, or being a handyman.
A handyman does not require as much resources as contracting. You only need to have your tools. You will need to be able manage your work and time, as contractors rely on subcontractors for most of their work.
What are the most common hourly rates for handymen?
Handyman fees range from $50 to $75 per hour. Many have been doing this job for many years. The average time they spend on any job is around 10 hours. They are well-known and do not need advertising.
They tend to specialize and develop customer relationships over time.
They are quick, reliable, and affordable. This is the key difference between them and other contractors.
Most people have at least two or three of these guys that they can trust enough to call for help when they need it.
Some people are so skilled that they run their own businesses.
Why should I hire a handyman instead of doing it myself?
A handyman can save you time and money. Not only will you save time, but you also avoid the hassle of hiring another person. Hire a handyman to help you with your job.
Statistics
- Mila keeps a commission of 20% for each completed service performed by Friends and charges various service fees regarding work done by Pros. (appjobs.com)
- A franchise was approximately $110,000 with a franchise fee of $14,900, according to a spokesperson for a national handyman franchise. (en.wikipedia.org)
- Our handyman services for seniors are provided by professional senior helpers who have been serving the community for over 20 years with 98% customer satisfaction. (cantatahomeservices.org)
- “Before the pandemic, 40% of people asked how we could estimate a job when we weren't there,” Rose recalled. (inquirer.com)
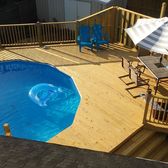
- More than 20% of homes in America have outdoor living spaces, including decks and patios. (mrhandyman.com)
External Links
How To
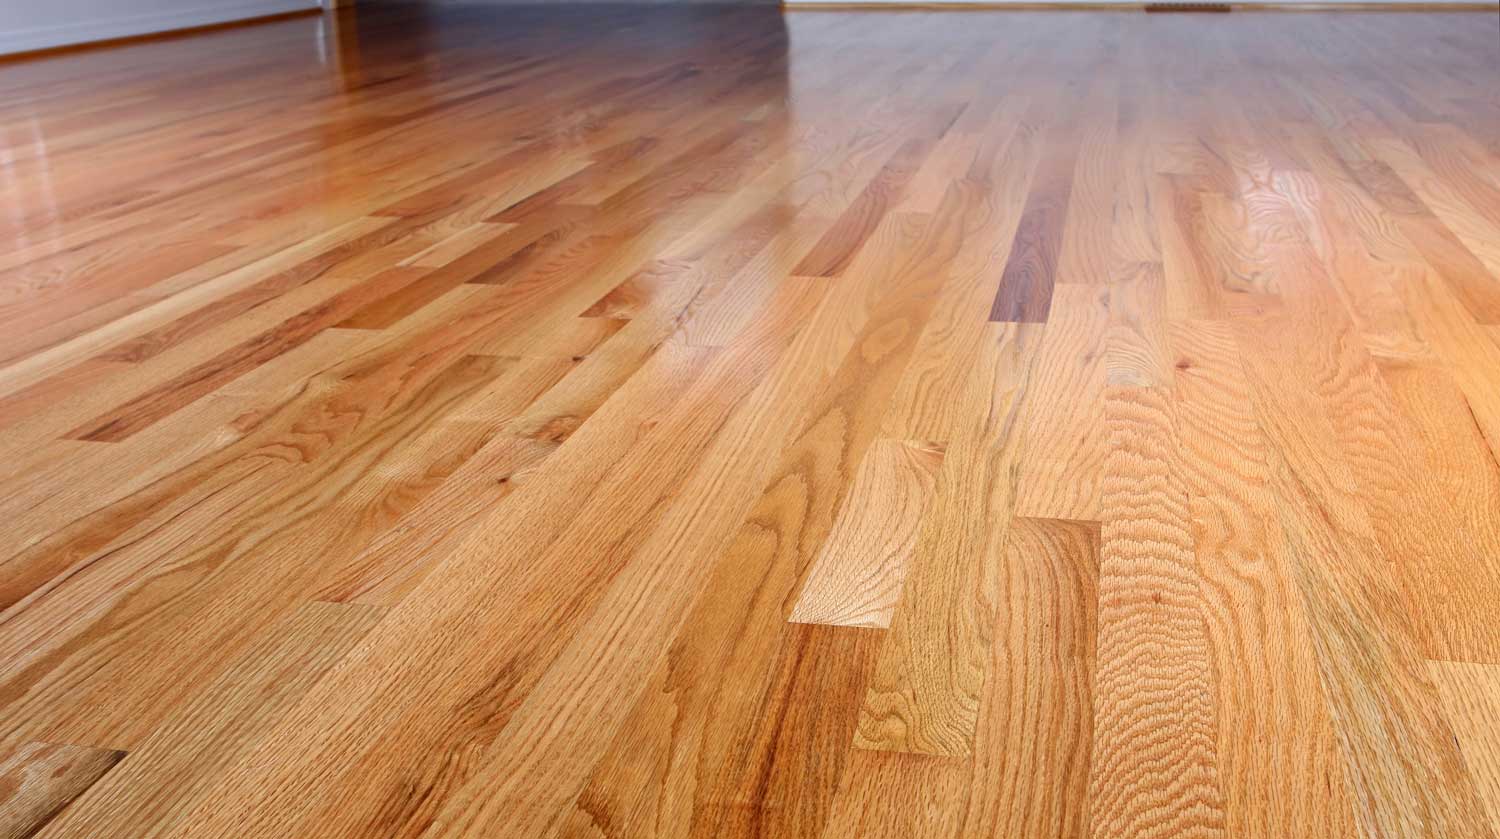
How to Replace Broken Tiles
Step 1: Take away the old tiles.
You can remove the old tiles from your floor and save them. You'll want to keep these intact if you use them later. You can note the parts that are missing or damaged so that you can find replacements.
Step 2 - Select New Tiles
Take a look at some different options available for tile replacement.
-
You should find a similar tile to the one that you've just taken out.
-
To find the right piece, take the measurements you took as you were removing the tiles. This will allow you to quickly find the right size, without having to measure again.
-
Consider looking for colors, patterns, textures and sizes in a variety of shapes and colors.
-
Consider what grout you'd like to use (if any). Some people prefer to use a single color, while others love mixing it up.
-
Make sure the tile you select is resistant to moisture.
-
Finally, consider the placement of your new tile -- you can save time and money by ensuring the area you're installing it in has enough space for proper installation.
-
Once you've chosen your tile, order it online or call your local Lowe's store to place your order.
Step 3 – Install the new tiles.
To install your tiles, follow the same procedure as before. You must align them correctly to ensure they fit together.
Step 4 -- Clean Up
Be sure to sweep up all debris from the floor before applying the final protective layer.
This will prevent dust and dirt from building up between the tiles.
Step 5 - Sand Down the Floor
Clean everything and sand the floor.
Step 6 - Finish Off
After the floor has been smoothed, you can apply protective coatings to the tiles. Wait until the floor is completely smooth before applying the protective coatings to the tiles. Wet paint could stain the tiles' surface.
To protect your floors from stains, you can use "damp-and dry" products.
However, it won't cover every possible problem that may occur after you've installed your new tiles. For example, if you have a lot of kids running around, you may want to consider using an anti-slip coating on top of the protective layer.
Finally, do not forget to keep the protective sealer on for several more weeks before you move back into your home.